
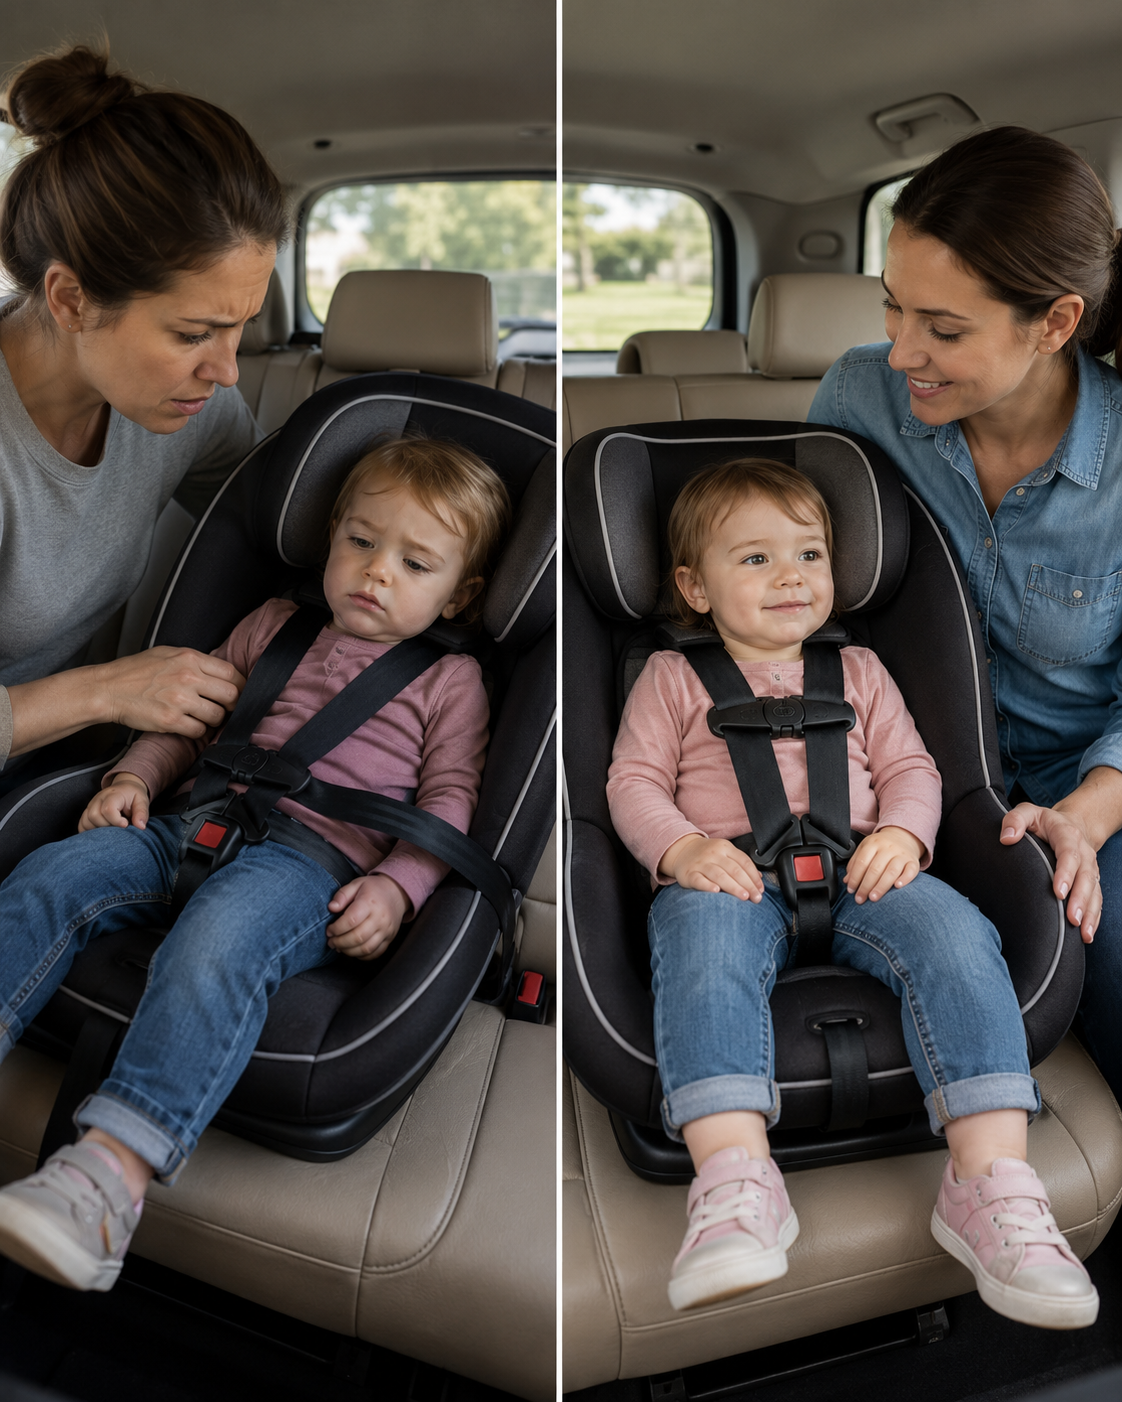
A car seat can only protect a child when it is installed and used correctly. Learn the common mistakes, warning signs, and simple checks that help make every ride safer.

Why Car Seat Installation Matters So Much
A car seat is one of those baby items most parents buy with serious care. We compare models, read reviews, check weight limits, and choose something that feels sturdy and safe.
But there is one part that can be surprisingly tricky: installing it correctly.
A car seat is not just a small chair for the car. It is a safety system designed to work with your vehicle during sudden stops or crashes. When it is installed too loosely, facing the wrong direction, attached through the wrong belt path, or used with a poorly fitted harness, it may not protect a child the way it is meant to.
This does not mean parents are careless. Car seats are complicated. Vehicles are different. Manuals are long. LATCH systems, seat belts, recline angles, tether anchors, harness slots, and booster fit can be confusing, especially when you are tired, rushed, or installing a seat in a second car.
The good news is that most mistakes can be fixed. Once you know what to look for, a few simple checks can make every ride safer.
What Can Happen When a Car Seat Is Not Installed Correctly?
A correctly installed car seat helps manage crash forces and keeps a child positioned in the safest way possible. An incorrectly installed one may move too much, allow the child to move too far forward, or fail to keep the child’s head, neck, and spine well supported.
The Seat May Move Too Much
A properly installed car seat should feel secure at the belt path. If it slides side to side or forward more than it should, it may not stay in position during a crash or sudden stop.
That extra movement matters. The more the seat shifts, the more the child may move too. In a crash, even a small installation problem can become a much bigger issue.
A simple everyday check is to hold the car seat near the belt path and tug it side to side and front to back. If it moves a lot, the installation likely needs attention.
The Child May Not Be Held Securely
Even if the seat itself is installed well, the harness still needs to fit the child correctly.
Loose harness straps can allow a child’s body to move too much. Twisted straps may not spread force evenly. A chest clip that is too low may not keep the harness positioned properly on the shoulders.
These details can seem small when you are buckling a child in for a short trip to daycare or the grocery store. But car seats are designed to work as a system. The seat, harness, chest clip, recline angle, and vehicle attachment all matter.
The Seat May Not Protect the Head and Neck as Designed
Rear-facing seats are designed to support a young child’s head, neck, and spine during a crash. When a child is turned forward-facing too soon, they may lose that extra protection before their body is ready.
Forward-facing seats also need to be used correctly. The top tether, when required and available, helps limit how far the seat and child move forward in a crash.
Skipping the tether is one of those mistakes that can happen easily because the seat may look “installed” without it. But for many forward-facing seats, the tether is an important part of the safety setup.
Common Car Seat Installation Mistakes
Car seat mistakes are common because installation requires matching three things: the child, the car seat, and the vehicle. If one part is off, the whole setup may not work as intended.
Mistake 1: The Seat Is Too Loose
This is one of the most common problems. A car seat may look fine at a glance, but when tested at the belt path, it moves too much.
The belt path is the spot where the seat belt or lower anchor strap goes through the car seat. That is where you should check movement, not at the top of the seat.
If the seat feels loose, the belt or lower anchor strap may need to be tightened. Sometimes the seat needs firm pressure while tightening. Sometimes the belt is routed incorrectly. Sometimes the vehicle seat shape makes installation harder.
Mistake 2: Using the Wrong Belt Path
Many convertible car seats have one belt path for rear-facing and another for forward-facing. Using the wrong one can affect how the seat performs.
This is an easy mistake because the openings may look similar, especially if you are installing the seat quickly or switching it from rear-facing to forward-facing.
Always check the labels on the seat and the manual before routing the belt or LATCH strap.
Mistake 3: Using LATCH and the Seat Belt Together When Not Allowed
Some parents think using both the lower anchors and the seat belt must be safer because it seems like double protection.
But many car seats are designed to be installed with one method or the other, not both, unless the manufacturer specifically allows it.
Using both incorrectly may change how the seat responds in a crash. The safest option is to follow the car seat manual and your vehicle manual.
Mistake 4: Forgetting the Top Tether on a Forward-Facing Seat
The top tether is often overlooked. It is the strap that connects the top of a forward-facing car seat to a tether anchor in the vehicle.
Its job is to help reduce forward movement in a crash.
Many parents install a forward-facing seat with the lower anchors or seat belt and forget the tether. Others cannot find the tether anchor in the vehicle and skip it.
If your child is in a forward-facing harnessed seat, look up the tether anchor location in your vehicle manual and use the tether according to the seat instructions.
Mistake 5: Incorrect Recline Angle
Rear-facing seats need the correct recline angle, especially for infants. If the seat is too upright, a baby’s head may fall forward. If it is too reclined, the seat may not position the child as intended.
Many seats have a built-in angle indicator. Some have a bubble level, line marker, or adjustable recline foot.
Do not guess by appearance alone. Use the indicator and instructions for your specific seat.
Mistake 6: Moving to the Next Stage Too Soon
It is tempting to move a child to the next stage because they look big, complain about rear-facing, or want to sit like an older sibling.
But car seat stages are based on height, weight, age, and development. A child should stay in each stage until they reach the seat’s limits, not simply until the next seat looks more convenient.
That means rear-facing as long as the seat allows, then forward-facing with a harness, then a booster seat, then the vehicle seat belt when it fits properly.
Harness Mistakes That Can Reduce Protection
Installation is only half the story. How the child is buckled matters every single ride.
Loose Harness Straps
The harness should be snug against the child’s body. If you can pinch extra webbing at the shoulder, it is too loose.
A snug harness helps keep the child positioned correctly. Loose straps may allow too much movement during a crash or sudden stop.
Twisted Straps
Twisted straps may seem like a small annoyance, but they can reduce how evenly the harness spreads force.
Before buckling, smooth the straps so they lie flat across the child’s shoulders and body.
Chest Clip Too Low
The chest clip should generally sit at armpit level. If it is down near the belly, the harness may not stay properly positioned on the shoulders.
A quick chest-clip check can become part of the normal buckling routine.
Bulky Coats Under the Harness
Thick winter coats can make the harness seem tight when it is actually not close enough to the child’s body. In a crash, the fluffy material can compress, leaving extra space.
A better habit is to buckle the child in without a bulky coat under the harness, then place a coat or blanket over the child after buckling if needed.
Warning Signs Your Car Seat May Need a Recheck
You do not have to be a car seat expert to spot clues that something may be wrong.
The car seat moves more than about an inch at the belt path.
The harness straps are twisted or uneven.
You can pinch extra harness webbing at the shoulder.
The chest clip sits too low or too high.
The seat is using a belt path you are unsure about.
The recline indicator is not in the correct range.
The top tether is not connected on a forward-facing harnessed seat.
The child has outgrown the height or weight limit.
The seat has been moved between cars and reinstalled in a hurry.
Any of these signs means it is worth slowing down and checking the manuals.
Why Short Trips Still Matter
Many car seat mistakes happen during quick, ordinary drives.
A short trip to school. A five-minute drive to the store. A ride with grandparents. A quick pickup from practice. These are the moments when adults may loosen the rules because the drive feels familiar.
But crashes and sudden stops do not only happen on long road trips. A car seat needs to be used correctly every time, even when the destination is nearby.
This is where routines help. If the same checks happen every ride, they become automatic.
Practical Steps to Install a Car Seat More Safely
You do not need to memorize every technical detail. Start with the basics and use the instructions made for your seat and vehicle.
Read Both Manuals
This may sound obvious, but many people only read the car seat manual and forget the vehicle manual.
You need both.
The car seat manual explains how that specific seat should be installed. The vehicle manual tells you where the lower anchors and tether anchors are, which seating positions allow car seat installation, and how the seat belts lock.
Choose the Right Seat for the Child
Make sure the seat matches your child’s age, height, weight, and developmental stage.
A seat that worked six months ago may need adjustment now. Children grow quickly, and harness height, headrest position, recline angle, and weight limits can change over time.
Install in the Back Seat
For children, the back seat is generally the safer place to ride. A rear-facing car seat should never be placed in front of an active passenger airbag.
If you are unsure which back-seat position is best for your vehicle and seat, check the manuals or ask a certified child passenger safety technician.
Use Either LATCH or Seat Belt Correctly
Both LATCH and seat belt installations can be safe when done correctly. One is not automatically better than the other.
The best method is the one allowed by your car seat and vehicle manuals and the one that gives you a secure installation.
Also remember that lower anchors have weight limits. As children grow, some seats need to switch from lower anchors to seat belt installation. Your manual will explain this.
Check Movement at the Belt Path
After installation, hold the seat at the belt path and tug side to side and front to back.
The seat should not move more than about one inch at that spot. Do not judge movement by pulling at the top of a rear-facing seat, because that area may naturally move more.
Attach the Top Tether for Forward-Facing Seats
If your child rides forward-facing in a harnessed car seat, use the top tether according to the instructions.
The tether anchor may be on the vehicle seat back, rear shelf, floor, ceiling, or cargo area, depending on the vehicle. The vehicle manual is the best place to confirm the location.
Getting Help Is a Smart Move
Car seats are important enough that you do not have to figure everything out alone.
Certified child passenger safety technicians can check your installation, explain what needs adjusting, and help you learn how to install the seat yourself. Many communities offer car seat inspection events, safety checks, or appointment-based help.
This can be especially useful when you install a new seat, switch from rear-facing to forward-facing, move the seat to a different car, prepare for a new baby, or feel unsure after reading the manual.
Getting help does not mean you failed. It means you are taking the seat seriously.
Special Situations That Deserve Extra Attention
Some situations make car seat errors more likely.
Using a Second Car
The seat may install differently in another vehicle. A setup that works perfectly in one car may be loose or awkward in another.
Always check the installation after moving a car seat.
Grandparents and Other Caregivers
Grandparents, babysitters, relatives, and friends may not know current car seat guidance. They may also remember older habits from years ago.
Before someone else drives your child, show them how the seat works, how tight the harness should be, and where the chest clip belongs.
Rideshares and Travel
Travel can make car seat safety harder because you may be installing quickly in an unfamiliar vehicle.
Practice installing the seat before the trip if possible. Keep the manual available on your phone or in the seat pocket.
Used Car Seats
A used seat may seem like a good way to save money, but be careful. You need to know its full history.
Avoid using a seat if it is expired, missing labels, missing parts, recalled and not repaired, or has been in a crash unless the manufacturer says continued use is allowed.
A Simple Before-You-Drive Checklist
Before starting the car, take a few seconds to check:
The car seat is tight at the belt path.
The harness straps are flat and snug.
The chest clip is at armpit level.
The child is within the seat’s height and weight limits.
The recline angle is correct for a rear-facing seat.
The top tether is attached for a forward-facing harnessed seat.
No bulky coat is under the harness.
The child is in the back seat.
This checklist may feel like a lot at first, but it becomes faster with practice.
Final Takeaway: A Car Seat Works Best When It Is Used Correctly
A car seat is one of the most important safety tools a family uses, but it can only do its job when it is installed and used the right way.
A loose seat, wrong belt path, skipped tether, poor recline angle, loose harness, or early stage change can reduce the protection the seat is designed to provide. These mistakes are common, but they are also fixable.
The best approach is calm and practical. Read both manuals. Check the seat at the belt path. Keep the harness snug and flat. Use the top tether for forward-facing seats. Keep children in the right stage as long as they fit within the seat’s limits. Ask a certified technician for help when needed.
You do not need to become a car seat expert overnight. Just build a routine of checking the basics every time.
A few minutes of careful setup can make every school drop-off, grocery run, road trip, and everyday drive a little safer for the child riding in the back seat.

Hi, I’m the creator and editor behind ZestyHabit. I research everyday safety, first aid, and practical wellness topics using official guidance and reliable public sources, then turn that information into clear, realistic steps for daily life.
My goal is to help readers make safer, better-informed choices at home and beyond.


