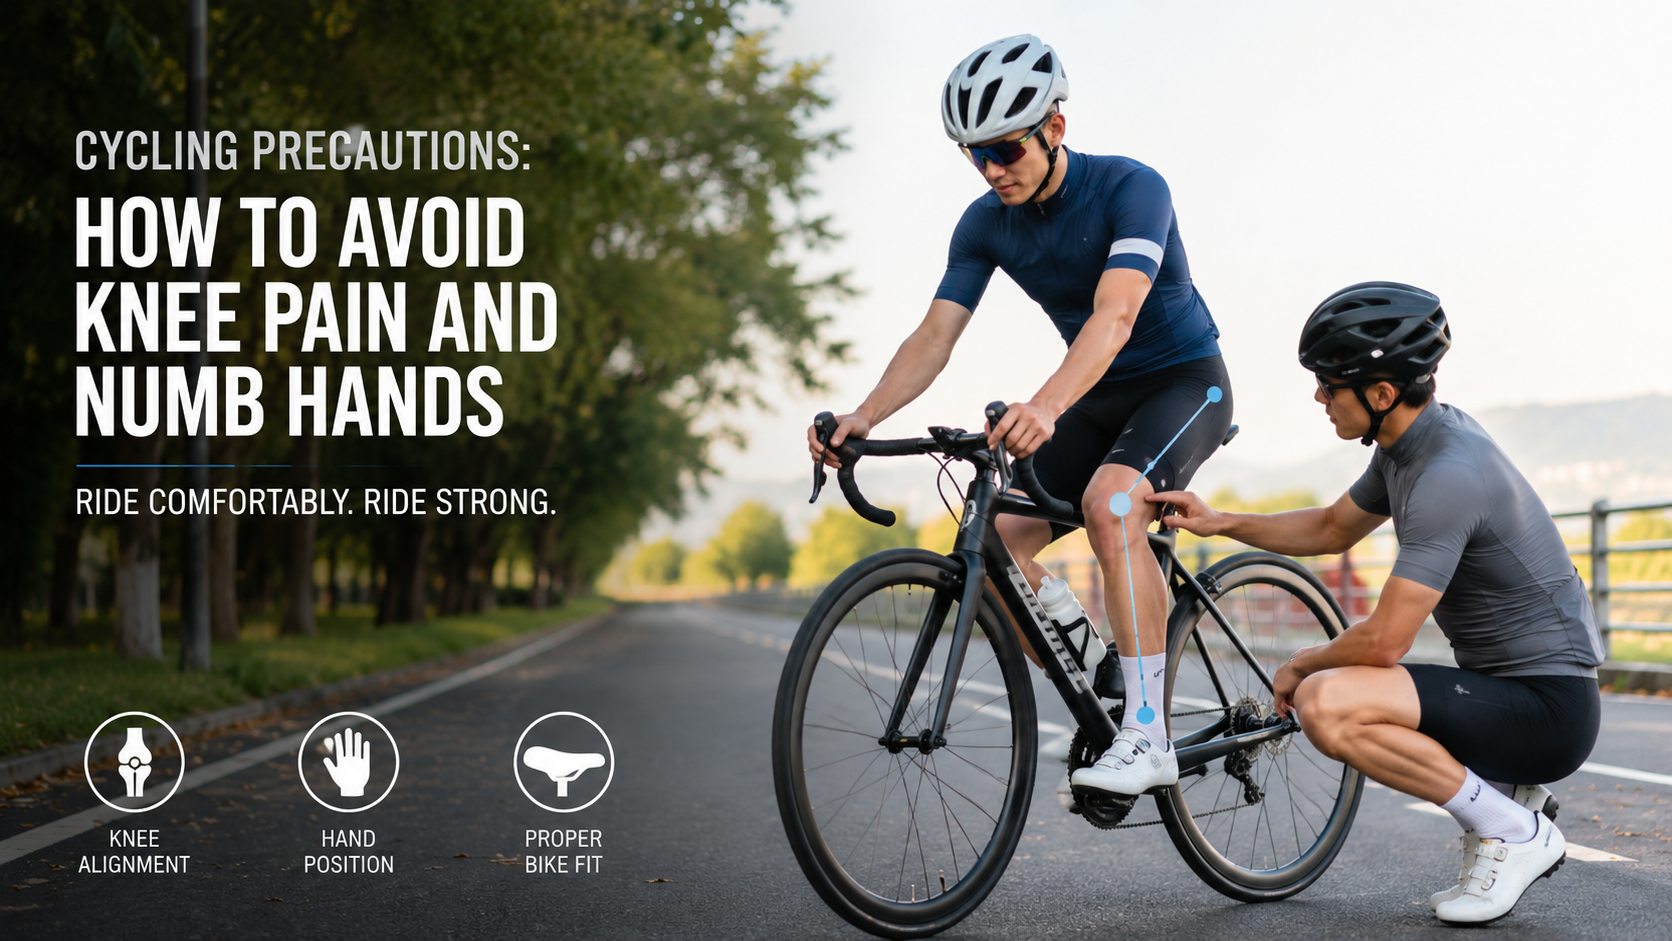
Cycling Precautions: How to Avoid Knee Pain and Numb Hands
Minjin Park
·
Cycling looks simple from the outside. You sit on the bike, start pedaling, and enjoy the ride. But once you begin riding more often, small discomforts can show up quickly. Two of the most common complaints are knee pain and numb hands.
For beginners, these problems can feel confusing. Your knees may ache after a short ride. Your fingers may tingle or go numb halfway through. Your wrists may feel sore, or your hands may feel weak after gripping the handlebars for too long.
The good news is that these issues are often related to setup, posture, pressure, and riding habits. You do not need to be a professional cyclist to prevent them. A few small adjustments can make your ride feel much more comfortable.
This guide covers beginner-friendly cycling precautions, including bike fit, knee tracking, hand pressure, posture, warm-up, and when to rest.
Cycling is low-impact compared with running, but it is repetitive. Your knees bend and straighten hundreds or thousands of times during a ride. Your hands, wrists, shoulders, and neck also hold steady pressure for long periods.
That repetition is where small problems can grow.
Knee pain may happen when:
The saddle is too low or too high
Your knees are moving inward or outward while pedaling
You use too heavy a gear
Your feet are poorly positioned on the pedals
You increase distance too quickly
Your hips or ankles are tight
You ride with poor posture
Numb hands may happen when:
Too much body weight rests on the handlebars
Your wrists are bent awkwardly
You grip too tightly
The handlebars are too low or too far away
Your saddle position pushes you forward
You stay in one hand position too long
Your gloves or handlebar tape do not provide enough comfort
Most beginner cycling discomfort is not about being “bad at cycling.” It is usually a sign that your body, bike, and riding habits need a better match.
Start with the Bike Fit
Bike fit is one of the biggest factors in preventing cycling pain. Your bike does not need to be expensive, but it should fit your body reasonably well.
If the bike is too big, you may overreach for the handlebars. This can place more pressure on your hands, wrists, shoulders, and neck. If the bike is too small, your knees may feel cramped and your posture may collapse.
You do not need a professional bike fit before your first casual ride. But if you plan to ride regularly, especially for longer distances, even a basic adjustment can help prevent discomfort.
Check Your Saddle Height
Saddle height has a direct effect on your knees. If your saddle is too low, your knees stay overly bent during the pedal stroke. This can increase pressure around the front of the knee. If your saddle is too high, your hips may rock side to side, and you may strain the back of the knee or hamstrings.
A simple beginner check is this:
Sit on the saddle and place your heel on the pedal at the lowest point of the pedal stroke. Your leg should be almost straight, without your hip dropping or rocking. When you place the ball of your foot on the pedal normally, your knee should have a slight bend at the bottom.
This is not a perfect professional measurement, but it is a useful starting point.
Signs your saddle may be too low:
Knees feel cramped
Front of the knee aches
Pedaling feels heavy
You feel like you are squatting on the bike
Signs your saddle may be too high:
Hips rock while pedaling
You point your toes to reach the pedal
Back of the knee feels strained
You feel unstable on the saddle
Make small changes. Move the saddle a little, test it, and adjust again if needed. Big changes can create new problems.
Pay Attention to Knee Tracking
Knee tracking means the path your knees follow while you pedal. Ideally, your knees should move fairly straight up and down, roughly in line with your feet.
If your knees collapse inward or flare outward, it can create stress over time. Beginners may not notice this at first, especially if they are focused on balance, speed, or traffic.
During an easy ride, look down briefly when it is safe. Notice whether your knees are moving straight or drifting from side to side.
If you use flat pedals, keep the ball of your foot near the center of the pedal. Avoid pedaling with only your toes or with your feet placed too far forward.
If you use clip-in shoes and knee pain appears, cleat position may be part of the issue. In that case, it is worth getting help from a bike shop or fitter, because small cleat changes can affect knee comfort.
Avoid Pushing Too Heavy a Gear
Many beginners ride in a gear that is too hard. They push slowly and forcefully, thinking it builds strength. But grinding a heavy gear can place more stress on the knees.
A smoother, lighter gear is usually kinder to your joints.
Try to pedal with a comfortable rhythm instead of forcing every stroke. Your legs should feel like they are spinning with control, not stomping down on the pedals.
If your knees start to feel pressure during a climb, shift to an easier gear earlier. Do not wait until your legs are already struggling.
This matters especially on hills. Climbing in a hard gear while seated can make the front of the knees work very hard. Standing occasionally may help some riders, but beginners should still focus on using an easier gear and keeping the movement smooth.
Warm Up Before Riding Hard
Cycling may feel easy at the beginning, but your knees still need time to settle into the motion. Starting too fast can make discomfort more likely, especially in cold weather or early morning rides.
Begin each ride with 5–10 minutes of gentle pedaling. Use an easy gear. Let your breathing, legs, and joints warm up gradually.
Before getting on the bike, you can also do a short warm-up:
Leg swings
Hip circles
Ankle circles
Gentle bodyweight squats
Light walking
Shoulder rolls
Wrist circles
This does not need to be intense. The goal is to wake up your body before asking it to repeat the same motion for a long time.
Do Not Increase Distance Too Quickly
Cycling can be enjoyable enough that beginners accidentally do too much too soon. Maybe your first ride feels great, so the next ride becomes twice as long. Then knee pain appears a day later.
Your body needs time to adapt to cycling. Even though cycling is lower impact than many sports, the repeated knee movement and seated position still create load.
Increase your distance gradually. If you are new, short rides are not a waste. They help your body learn the movement without being overwhelmed.
Avoid combining long distance, hills, and speed all at once
If your knees hurt after every ride, do not ignore it. Reduce intensity, check your bike setup, and give your body time to recover.
Keep Your Core Engaged
Numb hands often happen because too much weight is resting on the handlebars. Your hands should help control the bike, but they should not carry most of your body weight.
A light core engagement helps support your upper body. Think of your torso as gently active, not collapsed. Your hands should feel light enough that you could briefly relax your grip without falling forward.
This does not mean you need to hold a hard abdominal brace the whole ride. It means your posture should not dump your weight into your palms.
Try this:
Relax your shoulders. Keep your elbows slightly bent. Lengthen your spine. Gently support your torso with your core. Hold the bars with a relaxed grip.
If your palms feel crushed into the handlebars, your position may need adjustment.
Relax Your Grip
Many beginners grip the handlebars too tightly. This is natural if you are nervous, riding in traffic, or trying to maintain balance. But a tight grip can increase hand fatigue, wrist tension, and numbness.
Your grip should be secure but not clenched. Imagine holding the handlebars firmly enough to control the bike, but lightly enough that your fingers are not constantly tense.
Check your hands during the ride. Are your knuckles tight? Are your wrists locked? Are your shoulders raised toward your ears? If so, relax.
A tense grip often travels up the body. Tight hands can lead to tight forearms, tight shoulders, and neck discomfort.
Keep Your Wrists Neutral
Wrist position matters. If your wrists are bent too far back, down, or inward, pressure can build around the nerves and soft tissues of the hand. Over time, this may contribute to tingling or numbness.
Aim for a neutral wrist position, where your hand and forearm form a natural line. Your wrists should not feel sharply bent.
If you ride a flat-bar bike, rotate your hands and wrists until the position feels natural. If the brake levers are angled poorly, you may need to adjust them so your wrists stay more neutral when reaching for the brakes.
If you ride a road bike, change hand positions regularly between the tops, hoods, and drops if you are comfortable doing so. Staying in one position too long can increase pressure.
Change Hand Positions Often
Even with good posture, your hands can become uncomfortable if they stay in the same position for the whole ride.
When it is safe, shift your hand position. Move your fingers, gently shake out one hand at a time, and relax your shoulders. Small changes can reduce pressure buildup.
For flat handlebars, bar ends or ergonomic grips may help some riders. For road bikes, padded handlebar tape and properly positioned hoods can make a noticeable difference.
Cycling gloves can also help by adding cushioning and improving grip. They do not fix poor posture or bad bike fit, but they can reduce pressure and friction.
Check Handlebar Height and Reach
If your handlebars are too low or too far away, you may lean forward too much. This can increase pressure on your hands and make your neck and shoulders work harder.
A more upright position is usually more comfortable for beginners, especially for casual riding. You do not need an aggressive racing position to enjoy cycling.
Small changes to stem height, handlebar angle, saddle position, or grip setup can make a big difference. A bike shop can help if you are unsure.
Watch Your Saddle Position
Hand numbness is not always caused by the handlebars. Sometimes the saddle position pushes your body forward, forcing your hands to catch your weight.
If the saddle tilts downward too much, you may slide toward the front of the bike. This increases pressure on your hands and wrists. A saddle that is too far forward or backward can also affect balance and knee comfort.
For most beginners, the saddle should be close to level. A tiny adjustment may be needed for comfort, but a dramatically nose-down saddle often creates new issues.
If you constantly feel like you are pushing yourself back on the saddle, check the saddle angle.
Use the Right Tire Pressure
Tire pressure can affect comfort more than beginners expect. Overinflated tires may make the ride feel harsh, sending more vibration into your hands, wrists, and arms. Underinflated tires can feel sluggish and may increase the chance of flats.
The right tire pressure depends on tire size, rider weight, bike type, and surface. Check the recommended range printed on the tire sidewall, then adjust within that range.
For comfort, some riders do better slightly below the maximum pressure, as long as it remains within a safe range for the tire and riding conditions.
A smoother ride can reduce upper-body tension and hand discomfort.
Take Breaks Before Pain Builds
Do not wait until your hands are fully numb or your knees are aching badly. Take breaks early.
Check whether your saddle or handlebar position feels off
Pain is information. It does not always mean something serious, but it should not be ignored. A short break can prevent mild discomfort from turning into a bad ride.
Avoid Riding Through Sharp Pain
Mild muscle fatigue is normal. Sharp knee pain is not something to push through.
Stop or reduce intensity if you feel:
Sharp pain around the kneecap
Pain on the inside or outside of the knee
Pain that worsens with each pedal stroke
Swelling after a ride
Numbness that does not improve after changing position
Weakness in the hands
Tingling that continues after the ride
If pain keeps returning despite rest and bike adjustments, consider seeing a healthcare professional or a qualified bike fitter. Persistent pain deserves attention.
Strength and Mobility Can Help
Cycling uses repeated forward motion, but your body also needs support from the hips, core, glutes, and ankles. Weakness or tightness in these areas can affect knee tracking and posture.
Helpful off-bike exercises may include:
Glute bridges
Side steps with a resistance band
Bodyweight squats
Step-ups
Calf raises
Planks
Hip flexor stretches
Gentle hamstring stretches
Wrist and forearm mobility
You do not need a complicated gym plan. A few simple exercises done consistently can support better cycling mechanics.
For knee comfort, hip strength is especially useful. If your hips are weak, your knees may drift inward during pedaling. Better hip control can help your knees stay aligned.
Pay Attention After the Ride
Your ride does not end the moment you get off the bike. How your body feels afterward can tell you a lot.
After cycling, notice:
Do your knees feel sore in a specific spot?
Are both knees uncomfortable, or only one?
Did numb hands disappear quickly?
Are your shoulders or neck tight?
Did discomfort start early or only after a long ride?
Did hills make symptoms worse?
These clues can help you adjust your next ride. For example, knee pain during climbs may suggest the gear was too heavy. Hand numbness after 15 minutes may suggest too much handlebar pressure. Neck tension may suggest overreaching or stiff shoulders.
A simple note on your phone after each ride can help you spot patterns.
Beginner Cycling Safety Still Matters
While this article focuses on knee pain and numb hands, general cycling safety is just as important.
Wear a properly fitted helmet. Use lights if riding in low light. Follow traffic rules. Avoid listening to loud music that blocks surrounding sounds. Choose beginner-friendly routes with less traffic when possible.
The more relaxed and safe you feel, the less likely you are to ride with unnecessary tension in your hands, shoulders, and body.
Final Thoughts
Cycling should not leave you with aching knees or numb hands every time you ride. Some beginner discomfort is common, but repeated pain usually means something needs to change.
Start with your bike fit. Check your saddle height, knee tracking, handlebar reach, wrist position, and posture. Use easier gears, warm up gradually, and avoid increasing distance too quickly. Keep your hands relaxed, change positions often, and take breaks before discomfort builds.
Small adjustments can make a big difference. You do not need to ride perfectly. You just need to ride with awareness.
When your bike fits better and your body moves more comfortably, cycling becomes what it is supposed to be: smooth, refreshing, and enjoyable.
Hi, I’m the creator and editor behind ZestyHabit. I research everyday safety, first aid, and practical wellness topics using official guidance and reliable public sources, then turn that information into clear, realistic steps for daily life.
My goal is to help readers make safer, better-informed choices at home and beyond.