Plank Precautions: How to Avoid Lower Back Discomfort
Minjin Park
·
Planks look simple. You get into position, hold your body still, and wait for your core to start shaking. No jumping, no heavy weights, no complicated equipment. Because of that, many people assume planks are automatically safe and easy.
But anyone who has held a plank for more than a few seconds knows that “simple” does not always mean effortless. A plank can feel intense very quickly. And when your form starts to slip, the pressure often shows up in one place: the lower back.
A good plank should challenge your core, shoulders, glutes, and breathing control. It should not feel like your lower back is doing all the work. If your back starts aching every time you plank, that is usually a sign that something in your setup, hip position, core engagement, or duration needs adjusting.
This does not mean planks are bad. It means they need to be done with attention. Here is how to make planks feel stronger, safer, and more comfortable.
The plank is often called a core exercise, but your core is not just your abs. It includes muscles around your trunk, hips, pelvis, and spine that help keep your body stable.
When those muscles are not properly engaged, your lower back may take over. This often happens when the hips sag, the belly drops, the ribs flare, or the plank is held too long after good form is already gone.
Lower back discomfort during planks is usually not about weakness alone. It can come from poor alignment, fatigue, tight hip flexors, weak glutes, shallow breathing, or simply trying to hold the position longer than your body can control.
The goal of a plank is not to survive as long as possible. The goal is to hold a strong position with good tension.
Start With the Right Setup
A clean plank starts before the timer begins.
For a forearm plank, place your elbows under your shoulders. Your forearms can be parallel or slightly angled, depending on what feels comfortable. Keep your hands relaxed instead of gripping the floor too hard.
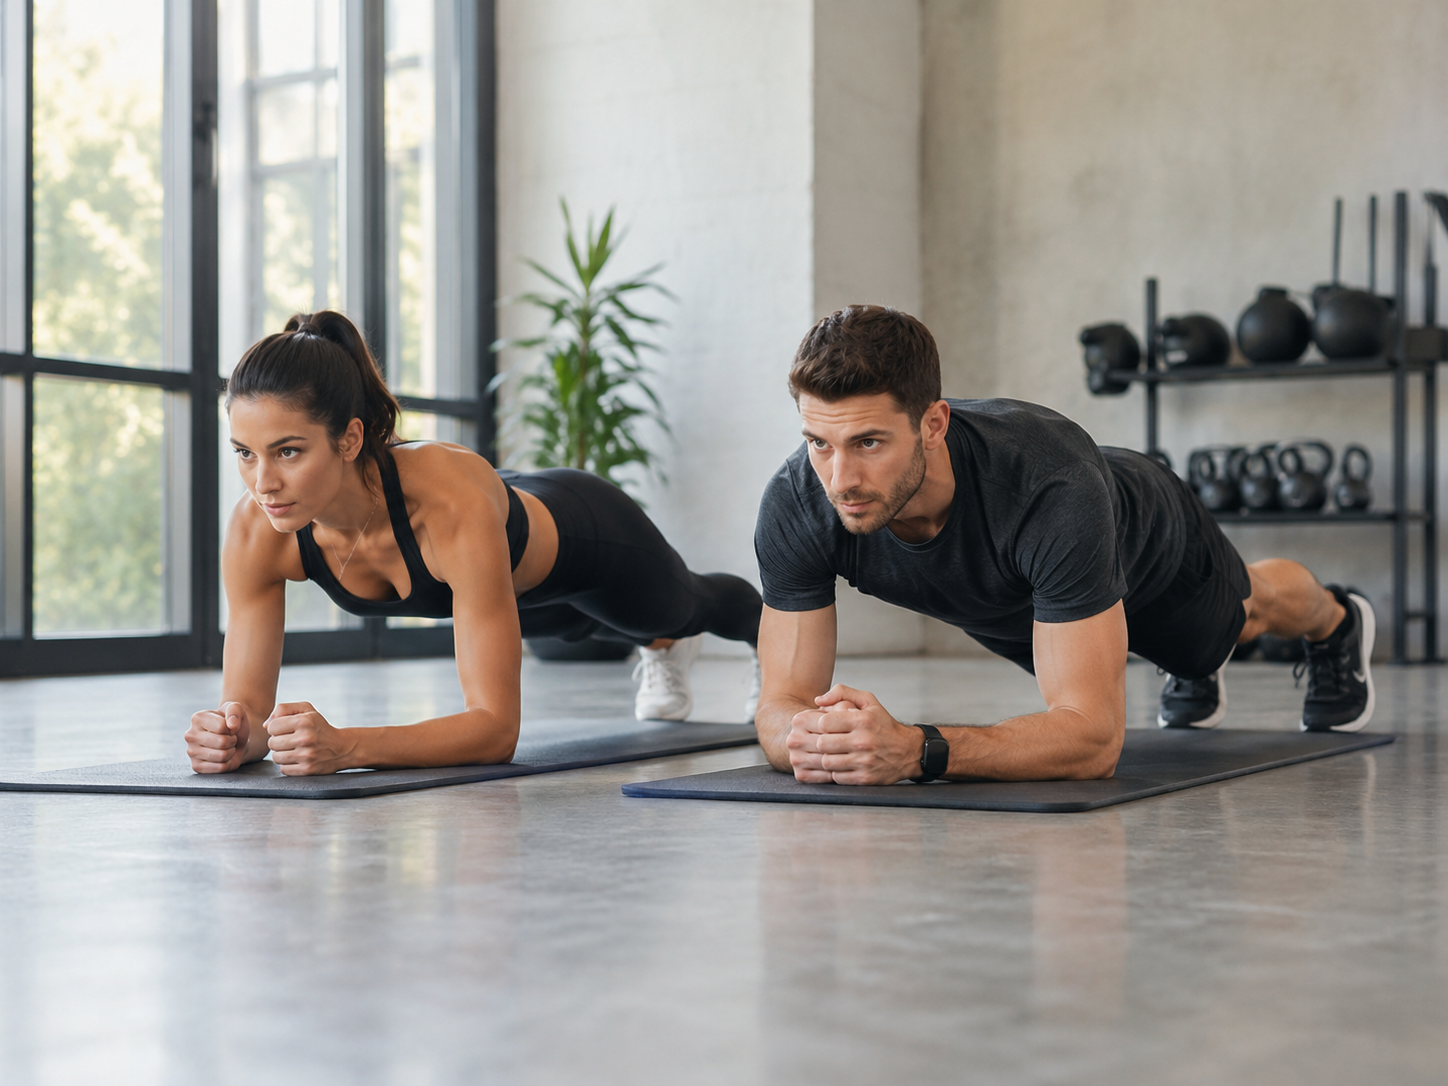
Step your feet back and keep your legs active. Your body should form a long line from head to heels. Your neck should stay neutral, with your gaze slightly ahead of your hands rather than straight forward or tucked too far down.
For a high plank, place your hands under your shoulders. Spread your fingers slightly and press through the floor. Avoid locking your elbows aggressively. Keep your shoulders stable and your body long.
A common mistake is setting the elbows or hands too far forward. This makes the plank harder to control and can cause the lower back to dip. If your shoulders feel strained or your back sags immediately, check your hand or elbow position first.
Do Not Let Your Hips Sag
Sagging hips are one of the biggest reasons planks cause lower back discomfort.
When the hips drop toward the floor, the lower back arches. Instead of the abs and glutes holding the body steady, the lumbar spine takes more pressure. At first, this may feel like a deeper challenge, but it is usually not the kind of challenge you want.
To fix this, think about gently lifting the front of your pelvis toward your ribs. This is sometimes called a slight posterior pelvic tilt. You do not need to round your whole back dramatically. Just reduce the deep arch in your lower back.
Squeeze your glutes lightly and pull your lower belly in as if you are zipping up a snug pair of pants. Your hips should stay in line with your shoulders, not hanging below them.
If you cannot stop your hips from sagging, shorten the plank. It is better to hold 15 good seconds than 60 seconds with your lower back collapsing.
Do Not Pike Your Hips Too High
Some people try to avoid sagging by lifting the hips way up. This may reduce lower back pressure, but it also changes the exercise.
When your hips are too high, the plank becomes less of a full-body core hold and more of a shortened position. Your abs may not work as much, and your shoulders may feel awkward.
A slightly higher hip position can be useful when you are learning, especially if your lower back is sensitive. But your long-term goal should be a straight, controlled line.
Think of your body as a strong plank of wood, not a mountain peak. Your hips do not need to be perfectly measured, but they should not be dramatically higher than your shoulders.
Engage Your Core Before You Start
Many people get into a plank and then hope their core turns on automatically. Sometimes it does. Sometimes it does not.
Before lifting into position, take a moment to brace. Imagine someone is about to gently poke your stomach. Your response would not be to suck in completely or push your belly out as hard as possible. You would create firm, steady tension around your middle.
That is the kind of core engagement you want.
Once you are in the plank, keep that tension. Your ribs should not flare open, and your belly should not drop toward the floor. At the same time, avoid holding your breath or squeezing so hard that your whole body becomes stiff and shaky in the wrong way.
Good core engagement feels firm but controlled.
Use Your Glutes, Not Just Your Abs
Planks are not only about the front of your stomach. Your glutes play a big role in protecting your lower back.
When your glutes are relaxed, your pelvis may tilt forward and your lower back may arch. When your glutes are gently engaged, your pelvis becomes more stable.
Try this cue: squeeze your glutes just enough to keep your hips steady, but not so hard that you cramp or lose your breathing. The glutes should support the position, not turn the plank into a full-body panic hold.
You may notice that as soon as your glutes turn on, your lower back feels less pressure. That is a good sign.
Check Your Rib Position
Rib position is easy to overlook, but it matters.
If your ribs flare forward and your chest drops, your lower back may arch more. This is especially common in people who have flexible backs or tight hip flexors.
During the plank, think about gently drawing your ribs down toward your pelvis. Again, this does not mean crunching your body into a ball. It means keeping the front of your torso connected.
A helpful cue is: ribs down, pelvis steady, glutes on.
If you feel your lower back pinching or compressing, check whether your ribs are flaring and your belly is dropping.
Breathe While Holding the Plank
Many people hold their breath during planks. It makes sense at first because bracing feels easier when you freeze everything. But holding your breath can make the exercise feel more stressful and may cause your form to break faster.
Try breathing slowly through your nose or mouth while keeping your core engaged. Your breath may be shorter than usual, but it should not disappear completely.
A good test is whether you can take small controlled breaths without your hips sinking. If every inhale makes your lower back drop, your plank may be too hard for your current level.
Breathing is part of the exercise. A plank is not just about staying still. It is about staying stable while your body continues to function.
Stop Chasing Long Holds
One of the most common plank mistakes is turning it into a time challenge.
Holding a plank for two minutes may sound impressive, but if your hips sag after 25 seconds, the rest of the hold is not doing what you think it is doing. It may just be training your body to tolerate bad form.
For many people, shorter sets work better. Try 10 to 30 seconds with clean form, rest, then repeat. As you get stronger, you can slowly increase the time.
A good plank should end before your form completely falls apart. You should feel challenged, but not crushed.
Quality matters more than duration. A short, strong plank is more useful than a long, sloppy one.
Try Modified Planks First
There is no rule that says you must start with a full plank from your toes.
If full planks bother your lower back, try a modified version. A knee plank can be a great starting point. Keep your hips forward, core engaged, and body straight from head to knees.
You can also try an elevated plank with your hands or forearms on a bench, table, or sturdy surface. The higher the surface, the easier the plank becomes. This allows you to practice alignment without dumping pressure into your lower back.
Modified planks are not “cheating.” They are how you build the strength and control needed for better full planks.
Once you can hold a modified plank with good form and no back discomfort, gradually make it harder.
Avoid Letting Your Shoulders Collapse
Your shoulders help support the plank. If they collapse, your chest sinks, your upper back loses stability, and your lower back may start compensating.
In a forearm plank, press your forearms gently into the floor. In a high plank, press through your palms. Think about pushing the floor away from you.
Your shoulder blades should not pinch together deeply. They should feel broad and stable across your upper back.
If your shoulders fatigue quickly, your plank may break down even if your core is strong enough. In that case, shorter sets or elevated planks may help you build endurance.
If you lift your head and stare forward, your back may arch more. If you tuck your chin too hard, your upper body may round awkwardly.
Keep your neck long and neutral. Look slightly ahead of your hands or down at the floor. Imagine your head continuing the line of your spine.
A calm neck often helps the rest of the body stay organized.
Watch Your Foot Position
Your feet affect your stability. If your feet are too close together, the plank becomes harder to balance. If they are too wide, it may become easier but less challenging for the core.
For most people, starting with feet about hip-width apart works well. This gives you enough balance to focus on alignment.
Press back gently through your heels and keep your legs active. Your knees should not feel completely loose. The more your legs participate, the less your lower back has to fight alone.
If your lower back bothers you, try widening your feet slightly and see if that helps you maintain control.
Do Not Ignore Hip Flexor Tightness
Tight hip flexors can contribute to lower back discomfort during planks. When the front of the hips is tight, it may pull the pelvis into a position that increases lower back arching.
This does not mean tight hip flexors are always the cause, but they can be part of the picture.
If you sit for long periods, add gentle hip flexor stretches to your routine. You can also warm up with glute bridges, dead bugs, or bird dogs before planking. These movements help wake up the muscles that support the pelvis and spine.
A plank should not feel like a battle against tight hips. If it does, your body may need a better warm-up or a less intense variation.
Use a Mirror or Record Yourself
Plank form can feel different from how it looks. You may think your body is straight, but your hips might be sagging. You may think your hips are too low, but they might actually be too high.
A mirror can help, but recording from the side is often even better. You only need a few seconds of video to check your alignment.
Look for these signs:
Your shoulders, hips, and heels form a mostly straight line. Your lower back is not deeply arched. Your hips are not lifted too high. Your head is not dropping or craning upward. Your body does not shake so much that you lose position immediately.
Use the video as feedback, not as a reason to criticize yourself. Small adjustments can make a big difference.
Know the Difference Between Effort and Pain
Planks should feel challenging. Your abs may shake. Your shoulders may work. Your legs and glutes may feel active. That is normal.
But lower back pain, pinching, sharp discomfort, or pressure that gets worse with each second is not something to ignore.
If your lower back starts hurting, stop the plank. Reset. Try a shorter hold, a knee plank, or an elevated plank. Check your hip position and core engagement.
If discomfort continues even with easier versions, it may be worth asking a qualified trainer, physical therapist, or healthcare professional to look at your form and movement.
Do not force your way through back pain just because planks are supposed to be “good for your core.”
Build Core Strength With Other Exercises Too
If planks keep bothering your back, you can strengthen your core in other ways while you work on plank technique.
Dead bugs, bird dogs, side planks, glute bridges, heel taps, and farmer carries can all help build core control. These exercises teach your body to stabilize the spine without relying only on a front plank hold.
Side planks are especially useful because they train the sides of the core. Bird dogs help with balance and spinal control. Dead bugs teach you to move your arms and legs while keeping your ribs and pelvis steady.
A stronger plank often comes from a stronger overall core, not from doing more painful planks.
A Simple Lower-Back-Friendly Plank Routine
Try this approach if regular planks bother your lower back:
Start with 5 minutes of light movement. Do 8 to 10 glute bridges. Do 6 to 8 dead bugs per side. Hold an elevated plank for 15 to 20 seconds. Rest for 30 to 45 seconds. Repeat for 2 to 4 rounds.
Once that feels easy and comfortable, lower the surface or try a knee plank. Then gradually work toward a full forearm plank.
Progress slowly. Your body does not need to be rushed into harder versions.
Practical Plank Checklist
Before and during your plank, check these points:
Elbows or hands are under your shoulders. Neck stays neutral. Ribs stay gently pulled down. Core is braced before the hold starts. Glutes are lightly engaged. Hips do not sag. Hips are not piked too high. Feet are stable. Breathing stays controlled. The hold stops before form collapses.
This checklist may feel like a lot at first, but over time it becomes automatic.
Final Thoughts
Planks can be a great exercise for building core strength, posture awareness, and full-body stability. But they are only helpful when your body is in a position it can actually control.
If your lower back hurts during planks, do not assume you are weak or that planks are bad for you. Start by checking the basics: hip position, core engagement, glute tension, shoulder support, breathing, and duration.
The best plank is not the longest plank. It is the one where your body stays strong, steady, and pain-free. Start with shorter holds, use modified versions when needed, and build gradually.
A plank should teach your core to support your spine—not leave your lower back doing all the work.
Hi, I’m the creator and editor behind ZestyHabit. I research everyday safety, first aid, and practical wellness topics using official guidance and reliable public sources, then turn that information into clear, realistic steps for daily life.
My goal is to help readers make safer, better-informed choices at home and beyond.