Burpee Precautions: How to Protect Your Knees, Wrists, and Back
Minjin Park
·
Burpees have a reputation for being intense. They show up in boot camp classes, HIIT workouts, sports conditioning, home fitness routines, and fitness challenges because they train several things at once: cardio, coordination, strength, and mental grit.
But burpees are also one of those exercises that can go from helpful to messy very quickly.
When you are fresh, one burpee may feel manageable. You squat down, place your hands on the floor, jump or step your feet back, lower your body, return to standing, and maybe add a jump. But after a few rounds, your landing gets louder, your wrists start taking more pressure, your lower back begins to sag, and your knees may feel the impact more than your muscles do.
That is why burpees deserve a little respect. They are not “bad,” but they are demanding. They combine squatting, planking, pushing, jumping, and landing in one fast movement. If your form breaks down, your knees, wrists, shoulders, and lower back may all start complaining.
Here is how to do burpees more safely, what mistakes to avoid, and how to modify them so they still challenge you without beating up your joints.
Burpees are difficult because they ask your body to move through several positions quickly. You go from standing to the floor, from the floor to a plank, from a plank back to standing, and sometimes into a jump.
That means your joints have to absorb force, stabilize your body, and change direction repeatedly.
Your knees deal with squatting and landing. Your wrists support body weight when your hands hit the floor. Your shoulders stabilize the plank or push-up position. Your lower back has to stay controlled as your legs move back and forward.
When you are tired, each of those areas becomes easier to overload. The goal is not to make burpees look fast at all costs. The goal is to move with enough control that your muscles do the work instead of your joints absorbing sloppy impact.
Start With a Good Standing Position
A safer burpee starts before you even touch the floor.
Stand with your feet about hip-width to shoulder-width apart. Keep your weight balanced through your whole foot, not just your toes. Your ribs should stay stacked over your pelvis, and your core should feel lightly engaged.
Many people start burpees with a loose body and then drop suddenly toward the floor. This can make the first part of the movement feel rough on the knees and lower back.
Before your first rep, take a breath, brace your core gently, and think about moving smoothly rather than collapsing down.
If you already feel rushed before the first rep, slow the exercise down.
Avoid Dropping Hard Into the Squat
One common mistake is falling into the bottom position instead of controlling the descent.
When you drop too fast, your knees may collapse inward, your heels may lift, and your hands may slam into the floor. This creates unnecessary stress before the hardest part of the burpee has even begun.
As you lower, bend your knees and hips together. Keep your feet grounded. Try to place your hands on the floor instead of throwing them down.
If reaching the floor feels difficult, it may be due to tight hips, tight hamstrings, limited ankle mobility, or fatigue. In that case, modify the movement by placing your hands on a bench, step, or sturdy elevated surface.
You do not have to force your hands to the floor if doing so makes your back round painfully or your knees feel jammed.
Watch Your Knee Position
Your knees should generally follow the direction of your toes as you lower and stand. They should not cave sharply inward.
Knee collapse often happens when the movement is too fast, the person is tired, or the hips and glutes are not helping enough. Over many reps, that inward collapse can make the knees feel irritated.
Think about keeping your knees softly tracking outward, especially when you jump or step your feet back in. You do not need to exaggerate the movement. Just avoid letting your knees fall toward each other.
This matters most during two parts of the burpee: when you lower toward the floor and when you land from the jump.
If your knees wobble every rep, slow down or switch to a step-back burpee.
Protect Your Wrists When Your Hands Hit the Floor
Burpees can be surprisingly hard on the wrists. Every rep places your hands on the floor and loads them with body weight, often at speed.
If your wrists feel sore, sharp, or compressed, do not ignore it.
Place your hands about shoulder-width apart. Spread your fingers and press through the whole hand, especially the base of the fingers and the area between the thumb and index finger. Avoid dumping all your weight into the heel of the palm.
Your hands should land under or slightly in front of your shoulders, not far ahead of your body. If your hands are too far forward, your shoulders and wrists may take more strain.
If the floor position bothers your wrists, try using push-up handles, dumbbells with flat stable sides, a yoga wedge, or an elevated surface. You can also reduce speed and step your feet back instead of jumping them back.
Wrist discomfort is a sign to adjust, not something you need to “tough out.”
Do Not Let Your Lower Back Sag in the Plank
The plank position is the middle of the burpee, and it is where many lower back problems begin.
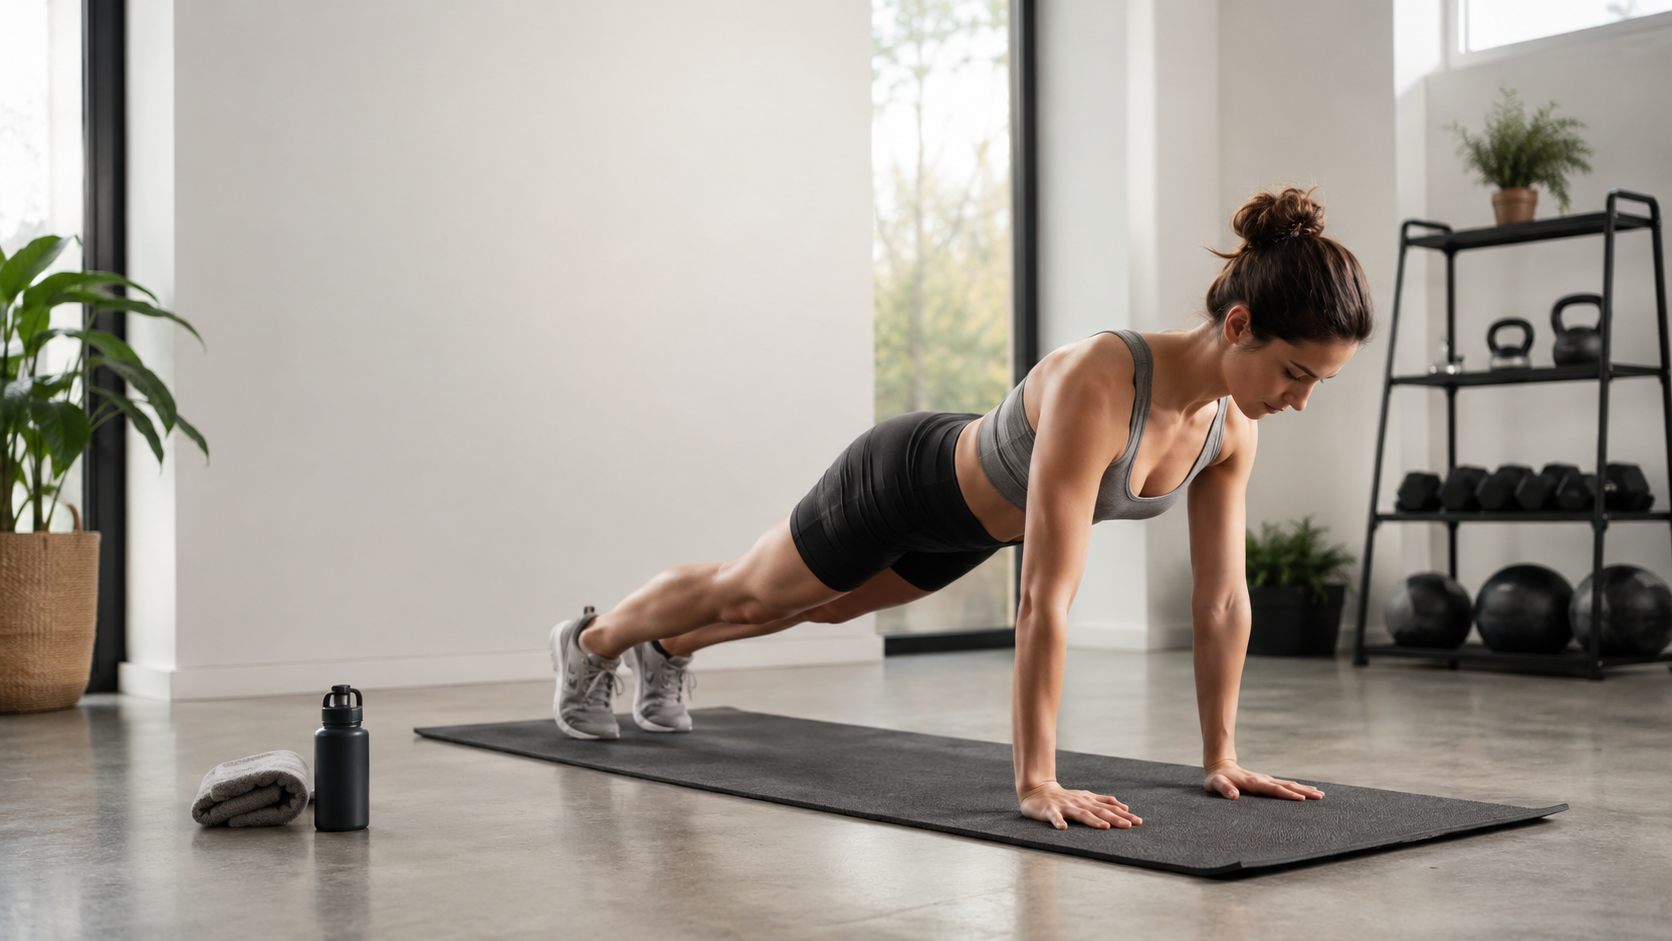
When you jump or step your feet back, your body should land in a strong plank. Your shoulders, hips, and heels should form a mostly straight line. Your core should stay engaged, and your glutes should help keep your pelvis stable.
To avoid this, brace your core before your feet move back. Lightly squeeze your glutes as you land in plank. Think about keeping your ribs and pelvis connected.
If your lower back sags every time you jump back, stop jumping back. Step one foot back at a time until you can control the position.
A clean step-back burpee is better than a fast burpee that strains your back.
Be Careful With the Push-Up Portion
Some burpees include a full push-up. Others only require a plank. Both can be useful, but they are not the same.
Adding a push-up makes the movement much harder. If your push-up form is not strong yet, your burpee may turn into a collapsed chest drop, sagging hips, and strained shoulders.
If you include the push-up, lower your body with control. Keep your elbows at a comfortable angle, not flared straight out to the sides. Keep your core engaged so your hips do not hit the floor before your chest.
If the push-up breaks your form, remove it. You can still get an effective workout from plank burpees without the push-up.
There is no rule that every burpee has to include chest-to-floor contact. Choose the version that matches your current strength and control.
Step Back Instead of Jumping Back When Needed
Jumping the feet back is faster and more intense, but it also demands more control. If you are tired, new to burpees, dealing with wrist pressure, or trying to protect your lower back, stepping back is often the better choice.
To do a step-back burpee, lower your hands to the floor, step one foot back, then the other, pause in a plank, step the feet forward, and stand.
This version reduces impact and gives you time to organize your body. It is also easier to keep your hips from sagging.
Do not think of step-back burpees as the “easy” version. When done with control, they can still raise your heart rate and build strength. They simply remove some of the chaos.
Land Quietly
If your burpee includes a jump, your landing matters.
A loud, heavy landing usually means your joints are absorbing more impact than necessary. Your knees, ankles, and hips should work together like shock absorbers.
Land with soft knees. Keep your feet about hip-width to shoulder-width apart. Let your hips bend slightly as you land instead of keeping your legs stiff.
Try to land quietly. This simple cue can improve your control immediately.
If you cannot land softly because you are too tired, skip the jump. Stand tall, reach overhead, or rise onto your toes instead.
The jump is optional. Joint control is not.
Do Not Rush Just to Get More Reps
Burpees are often used in timed workouts, which can make people chase speed. The problem is that speed often comes at the cost of form.
When you rush, your hands slam down, your feet fly back, your back sags, your knees cave in, and your landing becomes heavy. You may get more reps, but they are lower-quality reps.
A better approach is to choose a pace you can maintain with clean movement. Your breathing can be challenged, but your form should not fall apart immediately.
For most everyday fitness routines, controlled burpees are more useful than frantic burpees.
You should finish a set feeling worked, not wrecked.
Pay Attention to Fatigue
Fatigue is one of the biggest risk factors with burpees. Even people with good form at the start may lose it after 30 seconds.
Signs of fatigue include:
Your lower back starts sagging in plank. Your wrists feel overloaded. Your landings become loud. Your knees cave inward. You stop fully standing up. You hold your breath. You feel dizzy or uncoordinated.
When these signs show up, rest or switch to a modified version. Do not wait until your form is completely gone.
Burpees are already intense. You do not need to turn every set into a survival test.
Use an Elevated Surface
Elevated burpees are one of the best modifications for protecting the wrists, knees, and back.
Instead of placing your hands on the floor, place them on a sturdy bench, box, step, or countertop. Step or jump your feet back into an elevated plank, then return to standing.
This reduces how far you have to bend down, decreases wrist extension, and makes it easier to keep your lower back from sagging.
Elevated burpees are especially helpful if you are a beginner, have limited mobility, are returning after a break, or want a lower-impact conditioning option.
The higher the surface, the easier the movement becomes. As you get stronger, you can gradually use a lower surface.
Warm Up Before Doing Burpees
Because burpees involve multiple joints and quick transitions, they should not be the first movement you do when your body is cold.
Warm up with light cardio and dynamic movement. Marching, brisk walking, gentle jumping jacks, arm circles, hip hinges, bodyweight squats, and inchworms can all help prepare your body.
You can also practice each part of the burpee separately: a few bodyweight squats, a few planks, a few step-backs, and a few soft landings.
A warm-up does not need to be long, but it should make your joints feel ready and your breathing gradually increase.
Going straight from sitting to high-speed burpees is asking a lot from your body.
Choose the Right Surface
Burpees on a hard floor can feel rough on the wrists and knees, especially if you are moving quickly. A slightly cushioned exercise mat can help, but it should not be so soft that your hands and feet feel unstable.
Avoid slippery floors. If your feet slide when you jump back or forward, your lower back and shoulders may compensate.
Shoes matter too. Wear shoes that give you enough grip and stability. Very soft, unstable shoes may make landings feel less controlled.
A good surface should let you move confidently without slipping, wobbling, or pounding your joints.
Keep Your Core Engaged Throughout
Burpees are often treated as cardio, but they require core control from start to finish.
Your core helps you move from standing to plank and back without letting your spine collapse. If your core switches off, your lower back may take over.
Before each rep, brace lightly. As your feet move back, keep your belly from dropping. As your feet come forward, avoid rounding or twisting aggressively.
You do not need to clench your abs as hard as possible. You need steady tension that supports your spine while you breathe.
If you cannot breathe and brace at the same time, slow down.
Modify the Jump at the End
The final jump is not required for every burpee. It adds intensity, but it also adds impact.
If your knees, ankles, or lower back are sensitive, replace the jump with a simple stand-up and overhead reach. You can also rise onto your toes instead of leaving the ground.
This keeps the rhythm of the burpee without the landing stress.
If you do jump, keep it small and controlled. You do not need to jump as high as possible. A small, soft jump is enough to raise intensity.
Remember, the goal is not to punish your joints. The goal is to train your body.
Avoid Burpees When Your Form Is Already Compromised
Some days are not burpee days. If your wrists are sore, your lower back feels tight, your knees are irritated, or you are extremely fatigued, choose another exercise.
Good alternatives include step-ups, incline mountain climbers, bodyweight squats, brisk walking intervals, kettlebell deadlifts, rowing, cycling, or low-impact cardio circuits.
Skipping burpees does not mean you are avoiding hard work. It means you are choosing the right tool for the day.
Fitness should be sustainable. If an exercise repeatedly leaves you hurting, it needs to be adjusted.
Practical Burpee Checklist
Before and during your burpees, check these points:
Your hands land under control. Your wrists feel supported, not crushed. Your knees track in line with your toes. Your feet step or jump back into a strong plank. Your lower back does not sag. Your core stays engaged. Your landings are soft and quiet. You breathe throughout the movement. You stop before fatigue destroys your form. You modify when needed.
This checklist is not about making burpees perfect. It is about keeping them useful, safe, and manageable.
Final Thoughts
Burpees can be a powerful exercise, but they are not magic. They only work well when your body can control each part of the movement.
If burpees hurt your knees, wrists, or back, do not assume you just need to push harder. Check your landing, wrist position, plank alignment, core engagement, and fatigue level. Slow the movement down. Step back instead of jumping. Use an elevated surface. Remove the push-up or jump if needed.
A modified burpee done well is far better than a full burpee done carelessly.
The best version is the one that challenges your heart and muscles while still respecting your joints. Keep your movement clean, listen to your body, and let burpees build you up instead of wearing you down.
Hi, I’m the creator and editor behind ZestyHabit. I research everyday safety, first aid, and practical wellness topics using official guidance and reliable public sources, then turn that information into clear, realistic steps for daily life.
My goal is to help readers make safer, better-informed choices at home and beyond.