
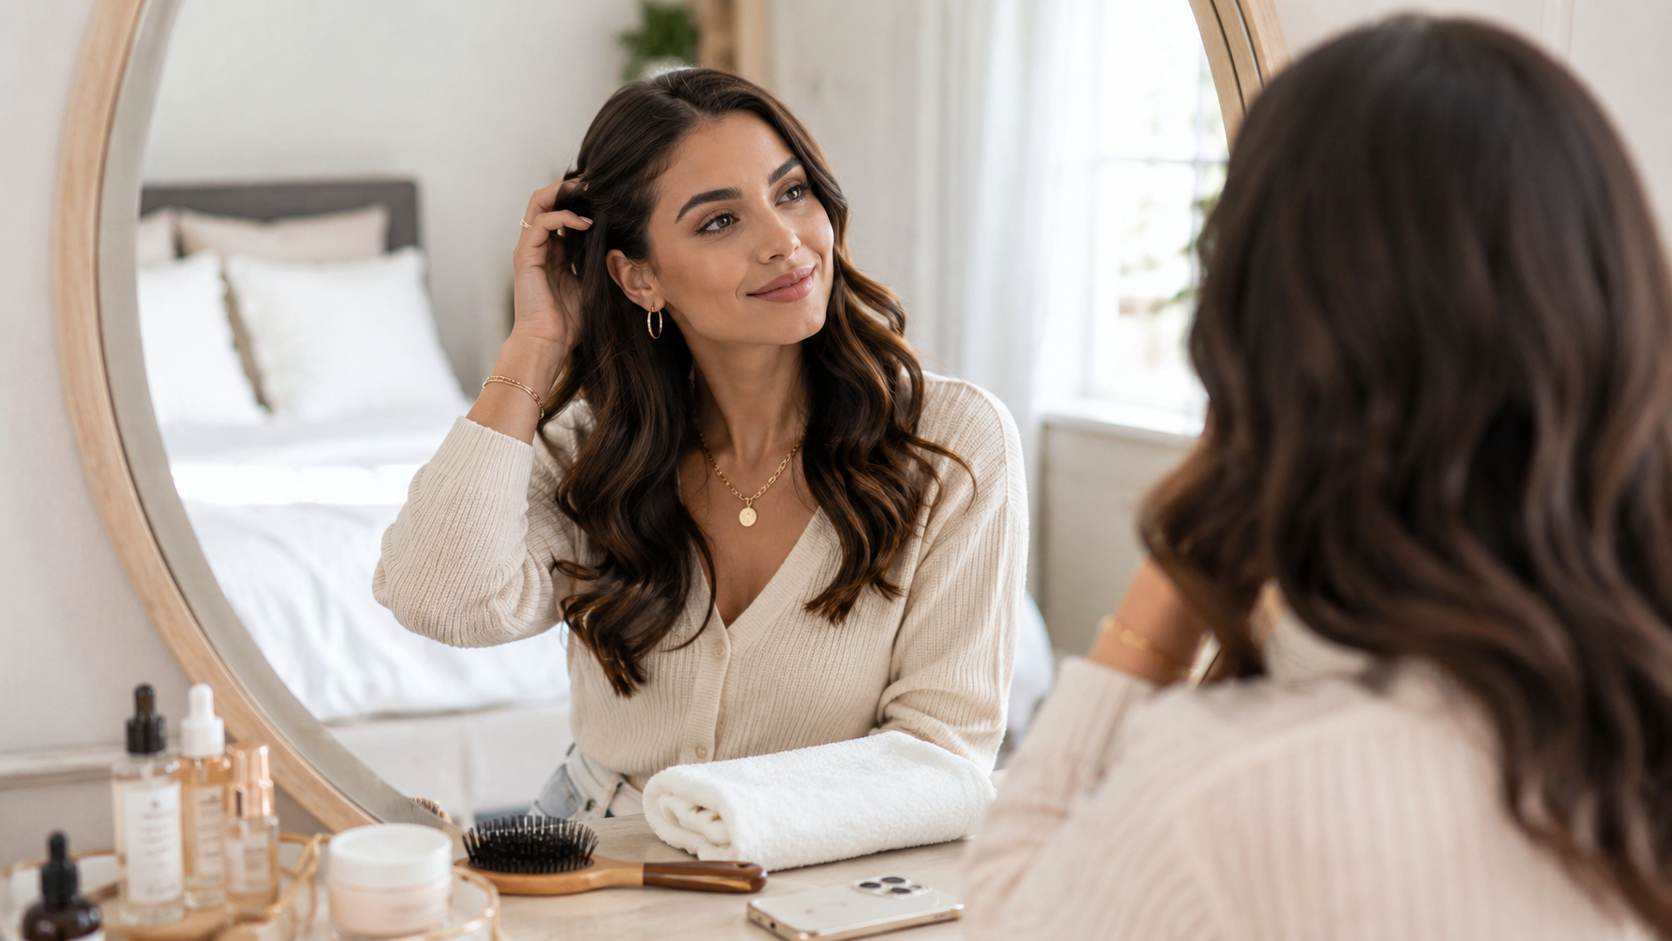

Preparing for photos is not about changing your face overnight. It is about small grooming, skin, hair, outfit, and posture habits that help you look clean, fresh, and confident on camera.
Taking photos sounds simple until the camera is suddenly pointed at you.
Then every tiny detail becomes suspicious.
Your hair looks flatter than usual. Your skin looks shinier than it did in the mirror. Your shirt has one strange wrinkle. Your lips look dry. Your posture feels weird. And somehow the camera captures a version of you that looks like you woke up five minutes ago, even if you actually made an effort.
Annoying? Very.
But photo preparation does not have to mean a full makeover. You do not need to become a different person before taking pictures. Most of the time, looking good in photos is about looking clean, fresh, and intentional.
Not overly done. Not stiff. Just cared for.
The best photo prep is usually quiet. Smooth skin, neat hair, clean clothes, hydrated lips, good posture, and a little attention to details that cameras love to exaggerate.
Start with skin the day before
If you have a photo coming up, do not experiment with a brand-new skincare product the night before.
This is the classic mistake.
You suddenly want glowing skin, so you try a new exfoliating mask, strong vitamin C serum, retinol, peel pad, or clay mask. Then your skin wakes up red, dry, irritated, or bumpy. Not exactly the soft-focus effect you wanted.
The day before photos, keep skincare familiar and gentle.
Cleanse properly. Moisturize well. Use soothing products your skin already likes. If your skin is dry, focus on hydration. If you are oily, do not try to strip your face until it squeaks. That often makes makeup sit worse and can make your skin produce more oil later.
A calm skin barrier photographs better than irritated “over-prepped” skin.
Do not over-exfoliate
A little smoothness is nice. Raw skin is not.
Exfoliation can help if you normally use it and your skin tolerates it well, but right before photos is not the time to attack texture aggressively. Scrubs, acids, peels, and harsh cleansing brushes can cause redness, flaking, sensitivity, or tiny bumps.
If you want to exfoliate, do it a few days before the photo, not right before. And only use something your skin already knows.
For many people, the best pre-photo skincare step is not exfoliation at all. It is hydration.
Soft, moisturized skin usually looks fresher than skin that has been scrubbed into panic.
Hydrate the skin, but do not overload it
Moisturized skin catches light better. It looks smoother, healthier, and less tired.
But there is a balance.
If you use too much skincare before makeup, your foundation can slide, pill, or separate. If you use too little, your makeup may cling to dry patches.
A good basic routine before photos might be: gentle cleanse, lightweight hydrating layer if you use one, moisturizer, then sunscreen during the day. Let each layer settle before applying makeup.
If your skin is dry, apply moisturizer while your face is slightly damp. If your skin is oily, choose a light moisturizer instead of skipping it completely.
Skin that feels comfortable usually photographs better than skin that feels tight.
Lips matter more than people think
Dry lips show up clearly in photos, especially close-up shots.
If your lips are cracked, lipstick looks uneven. Even bare lips can look dull or flaky. The fix is simple, but it works best if you start earlier.
The night before, apply a plain lip balm or ointment. In the morning, gently wipe away softened flakes with a damp cloth. Do not scrub until your lips are raw. That only makes them red and irritated.
Before the photo, apply a thin layer of balm and let it settle. If you are wearing lip color, blot off excess balm first so the color does not slide around.
Clean, moisturized lips make the whole face look more polished.
Hair should look intentional, not necessarily perfect
Photo-ready hair does not have to be salon-level.
It just needs to look intentional.
Frizz, flat roots, greasy sections, awkward flyaways, and uneven parting can stand out in pictures. A quick hair check makes a big difference.
If your hair gets oily fast, wash it the night before or morning of, depending on how your hair behaves. If freshly washed hair looks too fluffy or slippery, wash it the day before and style it lightly.
Check your part. Smooth flyaways. Brush or comb through tangles. Use a tiny amount of serum or hair oil on dry ends if needed, but do not overdo it. Too much product can make hair look greasy under camera lighting.
For short hair, shape matters. For long hair, the ends matter. If the ends look dry or tangled, the whole style can look less clean.
Check your eyebrows and facial hair
Small grooming details can make your face look cleaner on camera.
You do not need dramatic brow shaping. Just brush your brows into place. Trim any noticeably long hairs if you normally do that. Remove stray hairs only if you want to, and avoid last-minute aggressive plucking that leaves redness.
For facial hair, the same rule applies: make it look intentional. Shave cleanly if that is your style. Trim neatly if you keep facial hair. Check around the neck, jawline, and upper lip.
The camera tends to notice uneven grooming more than real life does.
Not fair, but true.
Avoid trying a new makeup style right before photos
Photo day is not the best time to become a completely new makeup person.
If you normally wear soft makeup, suddenly doing heavy contour, dramatic liner, or a bold lip may feel strange on your face. If you normally wear full makeup, going completely bare might make you feel less confident.
The best photo makeup usually looks like a slightly polished version of your usual self.
Even out the skin where needed. Reduce shine in the center of the face. Add a little definition to the eyes or brows. Bring some color back to the cheeks or lips so the face does not look flat on camera.
You do not need heavy makeup, but cameras can wash out natural color, especially under bright lighting. A little blush or lip tint can help you look more alive.
Watch shine, but do not erase all glow
There is a difference between healthy glow and oily shine.
The camera usually catches shine most on the forehead, nose, cheeks, and chin. If you know you get oily, keep blotting paper or a light powder nearby.
Blot first, then powder if needed. Powdering over oil again and again can make skin look cakey.
Also, do not mattify your whole face into a flat mask unless that is the look you want. A little natural dimension is flattering. The goal is controlled freshness, not powdered cardboard.
For photos, the center of the face usually needs the most shine control.
Clothes should be clean, fitted, and wrinkle-free
This sounds obvious, but it is one of the biggest photo prep points.
A clean outfit can still look messy if it is wrinkled, linty, too tight, too loose, or awkwardly tucked. Cameras freeze these things in a way mirrors sometimes do not.
Before photos, check your clothes in good lighting.
Remove lint. Steam or iron wrinkles. Check collars, cuffs, hemlines, buttons, and zippers. Make sure the fabric does not pull strangely when you sit or move.
Fit matters more than brand. A simple shirt that fits well will usually photograph better than an expensive outfit that bunches, gaps, or wrinkles badly.
If you are taking professional photos, bring a backup top if possible. Spills and sweat love important days.
Choose colors that make you look fresh
Color can change how your skin looks on camera.
Some colors make your face look brighter. Others can make you look tired, washed out, or dull. This depends on your skin tone, hair color, lighting, and background.
You do not need to understand color theory perfectly. Just hold the clothing near your face in natural light and notice what happens.
Does your skin look clearer? Do your eyes stand out? Or does your face suddenly look gray and tired?
For a clean impression, solid colors usually work well. Very busy patterns can distract from your face. Pure white can look crisp, but it may also reflect light strongly or wash some people out. Black can look polished, but it may feel harsh depending on the lighting.
When in doubt, choose a color you already know people compliment you in.
Pay attention to hands and nails
Hands often appear in photos, even when you do not expect them to.
You may hold a cup, touch your face, adjust your jacket, hold a bag, or place your hands in your lap. If your nails are chipped, dirty, or uneven, it can affect the overall clean impression.
You do not need a manicure. Clean and neat is enough.
Trim or file nails. Remove chipped polish. Moisturize hands. Clean around the nails. If your cuticles are dry, use a little hand cream or cuticle oil.
Hands are small details, but small details make the whole look feel more finished.
Do not forget body skin if it will show
If your arms, legs, shoulders, or neck will be visible, prep them too.
Dry body skin can look dull or flaky in photos. Apply body lotion after showering. Give it time to absorb before getting dressed so it does not stain clothes or make fabric stick.
If you plan to shave or wax, do it earlier rather than minutes before taking pictures. Last-minute hair removal can cause redness, bumps, or irritation. Waxing especially should be done at least a day or two before if your skin tends to react.
For exposed shoulders or collarbones, a little moisturizer can make the skin look healthier. But avoid heavy glitter or oily products unless that is the intentional style. Under flash, too much shine can look sweaty instead of glowing.
Sleep helps, but do not panic if you sleep badly
Good sleep helps with puffiness, dullness, and overall freshness.
But life happens. Sometimes you sleep badly the night before photos because you are stressed, busy, or thinking about how you need to sleep.
If you wake up looking puffy, do not panic.
Use a cool compress for a few minutes. Drink water normally. Move around a little. Gently massage the face if that works for you, but do not tug aggressively. Keep skincare light and calming.
Makeup can help. Lighting can help. Angles can help.
One bad night of sleep does not mean you cannot take a good photo.
Reduce puffiness gently
If your face tends to look puffy in the morning, a few simple habits may help.
Avoid very salty late-night meals before an important photo if you know they make you puffy. Sleep with your head slightly elevated if morning puffiness is common. Use a cool spoon, chilled eye mask, or cool compress around the eyes for a short time.
Do not press too hard. The eye area is delicate.
Also, avoid heavy eye cream right before photos if it tends to make your under-eyes look swollen. A lightweight hydrating eye cream is usually safer for daytime.
You want fresh, not greasy and puffy.
Posture changes everything
You can have perfect skin, hair, and clothes, but if your posture collapses, the photo may still look tired.
Good posture does not mean standing stiff like you are being inspected. It means creating a little length.
Relax your shoulders. Lift through the top of your head. Keep your chin slightly forward and down, not pulled back into your neck. Let your arms have a little space from your body instead of pressing them flat against your sides.
If you are sitting, sit toward the front of the chair and lengthen your spine. If you lean, lean with intention.
Posture is one of the fastest ways to look cleaner and more confident in photos.
Your expression matters more than perfection
A forced smile can make even a polished look feel awkward.
Before the photo, relax your face. Unclench your jaw. Take a small breath. Think of something mildly pleasant or funny, not “I must look good or everything is ruined.”
A natural expression usually looks better than a frozen one.
If smiling feels uncomfortable, try a soft smile rather than a huge grin. If you are taking professional headshots, practice a few expressions in the mirror beforehand. Not because you are vain. Because camera expressions feel weird at first.
The goal is to look like yourself on a good day.
Lighting can save or ruin the whole thing
Lighting is not technically grooming, but it affects how clean and fresh you look.
Harsh overhead lighting can create shadows under the eyes and nose. Direct flash can emphasize shine. Backlighting can make the face look dark. Very yellow indoor lighting can change skin tone.
Natural window light is often flattering. Soft light from the front or slightly to the side usually works well.
If you are taking photos at home, face the light source instead of standing with your back to it. If you are outside, open shade is often better than direct noon sun. Bright sun can make you squint and create harsh shadows.
Good lighting is basically free beauty support.
Pack a small touch-up kit
For longer photo sessions or events, bring a few small items.
You do not need your entire bathroom. Just the basics: blotting paper or powder, lip balm or lip color, a small comb or brush, tissues, hand cream, and maybe a lint roller if your outfit attracts lint.
If you wear makeup, bring concealer for small touch-ups. If your hair frizzes, bring a tiny amount of smoothing product or a few hair pins.
The point is not to obsess. It is to handle small issues before they become visible in every photo.
A five-second touch-up can save a whole album.
Avoid last-minute beauty experiments
This deserves repeating because it causes so many photo-day disasters.
Do not try a new facial. Do not use a new peel. Do not wax your face for the first time. Do not get a new eyebrow shape right before the shoot. Do not test a new self-tanner the night before. Do not use a hair dye you have never tried.
New beauty treatments need a buffer.
Even good treatments can cause temporary redness, dryness, swelling, or breakouts. If you want to do something new before photos, try it weeks ahead, not the night before.
Photo prep should be predictable.
Boring is safe. Safe is beautiful when the camera is waiting.
The clean impression checklist
A clean photo-ready look usually comes down to a few things.
Skin that looks calm and moisturized. Hair that is brushed or styled with intention. Clothes that fit and are wrinkle-free. Lips that are not cracked. Hands and nails that look neat. Shine that is controlled. Posture that looks relaxed and confident.
None of this requires perfection.
You do not need poreless skin. You do not need a flawless outfit. You do not need professional-level makeup. You just need the details to look cared for.
That is what reads as clean on camera.
What to do the night before
The night before photos, keep things simple.
Wash your face properly. Moisturize. Apply lip balm. Wash or style your hair depending on your hair type. Choose your outfit and check for wrinkles. Prepare accessories. Charge your phone or camera if needed. Set aside any touch-up items.
Try not to stay up too late scrolling and worrying about how you will look.
I know. Easier said than done.
But your face will appreciate even a slightly calmer night.
What to do right before the photo
Right before taking pictures, check the basics.
Blot shine. Smooth hair. Check teeth. Fix collar or neckline. Relax shoulders. Moisturize lips lightly. Make sure your outfit is sitting correctly. Take a breath.
Look at yourself in the same lighting if possible. Bathroom lighting can lie. Car mirrors can also create emotional damage. Use the actual photo lighting if you can.
Then stop over-checking.
At some point, the best thing you can do is relax into the photo.
So, how do you prepare for photos and leave a clean impression?
Photo prep is not about trying to become perfect at the last minute.
It is about reducing distractions.
Dry lips, oily shine, wrinkled clothes, messy hair, irritated skin, chipped nails, and stiff posture can all pull attention away from you. When those details are handled, your face and personality come through more clearly.
Keep skincare gentle. Hydrate your skin. Groom hair and brows lightly. Wear clean, well-fitted clothes. Check hands and nails. Control shine without flattening your face. Use good lighting. Stand or sit with relaxed posture.
And please do not punish yourself if you do not look like a filtered version of yourself. Photos are not proof of your worth. They are just a moment, with lighting and angles and timing involved.
The best clean impression is not about looking unreal.
It is about looking like you took care of yourself, showed up with intention, and still looked like you.

Hi, I’m the creator and editor behind ZestyHabit. I research everyday safety, first aid, and practical wellness topics using official guidance and reliable public sources, then turn that information into clear, realistic steps for daily life.
My goal is to help readers make safer, better-informed choices at home and beyond.


